This blog uses Netlify, it’s very fast, Netlify is the first choice for most developers recently. Cloudflare just released the Pages, with the most generous free tier, it is all set to compete with Netlify on this front. And, I not sure but it can be the next number 1 choice to host JAMstack sites. I just to try it out in this blog.
Cloudflare Pages vs Netlify
Most of the features are almost similar to that of Netlify, but the Cloudflare Pages come with collaboration and security which make it more good to consider.
| Details | Cloudflare Pages | Netlify |
|---|---|---|
| Custom Domain | Yes (Free) | Yes (Free) |
| SSL (HTTPS) | Yes (Free) | Yes (Free) |
| Git-based Workflows | Yes | Yes |
| Serverless Functions | Yes | Yes |
| DNS Management | Yes | Yes |
| Continuous Deployment | Yes | Yes |
| Build Preview | Yes | Yes |
| Build Preview | Yes | Yes |
| HTTP/3 | Yes | No |
| QUIC | Yes | No |
| Global CDN | Yes | No |
| Unlimited Collaborators | Yes | No |
| Build Capacity | 500 builds/month | 300 minutes/month |
| No. of Sites | Unlimited | Unlimited |
| Bandwidth | Unlimited | 100 GB |
| Team Members | Unlimited | 1 |
Migrate to Cloudflare Pages from Netlify
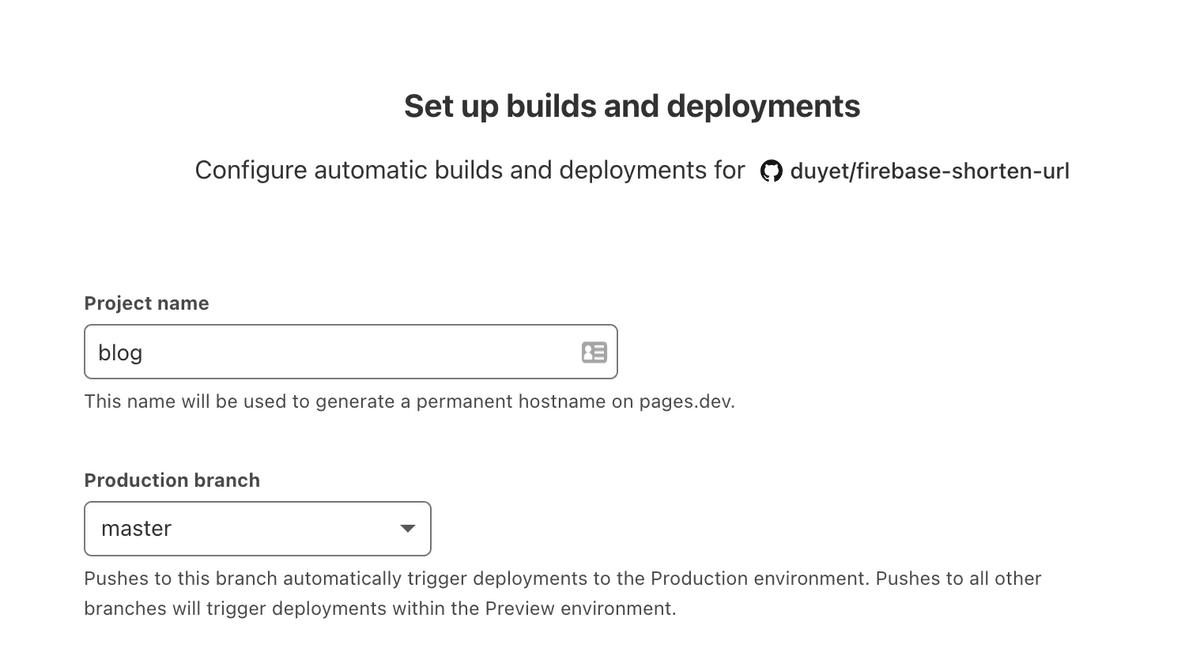
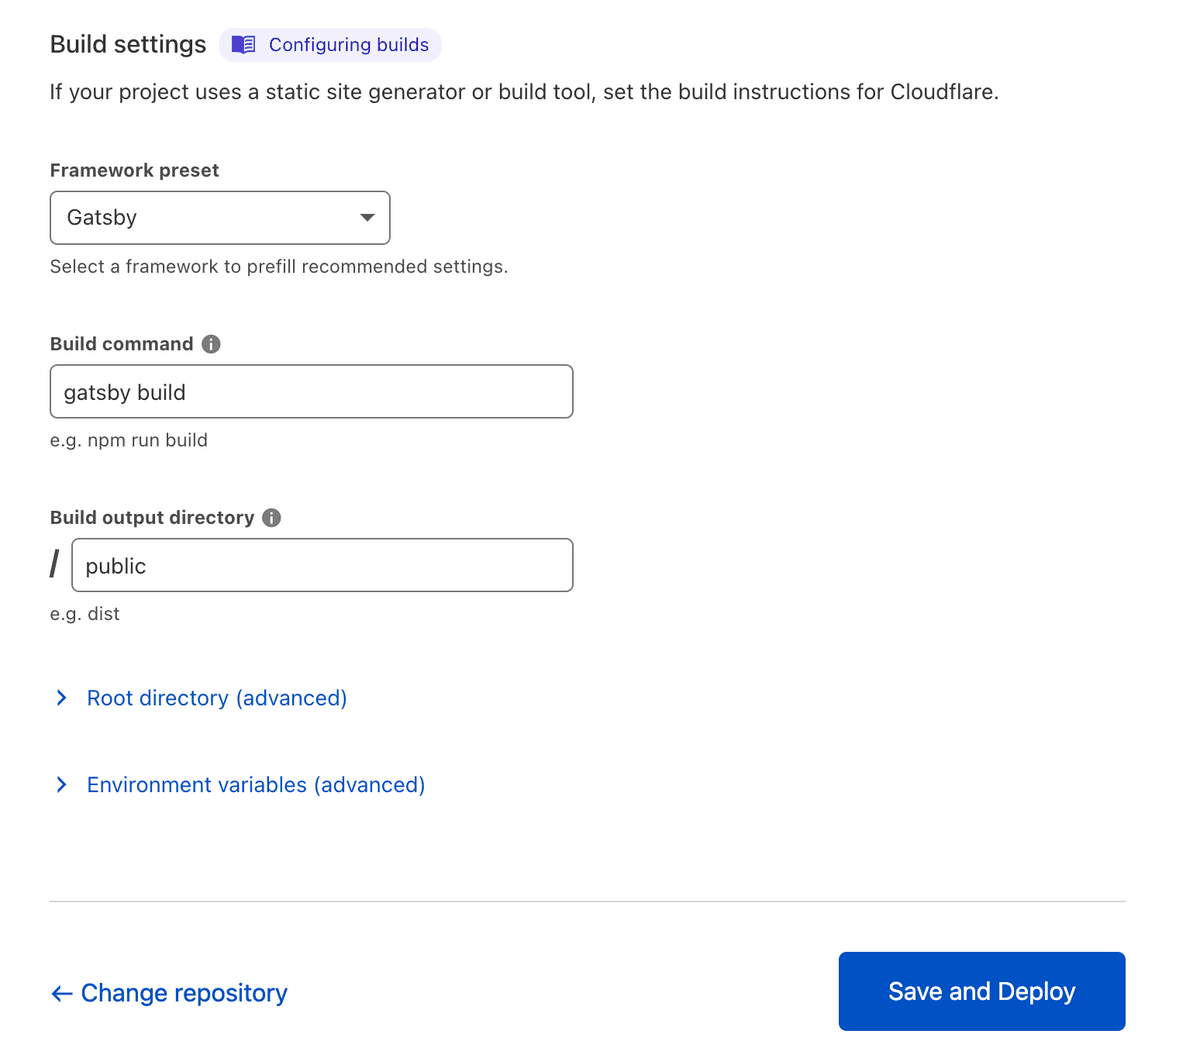
Similar with Netlify, the Pages need your build command and build directory. Following the Getting started, it will show you how to add the GitHub project to Cloudflare Pages.
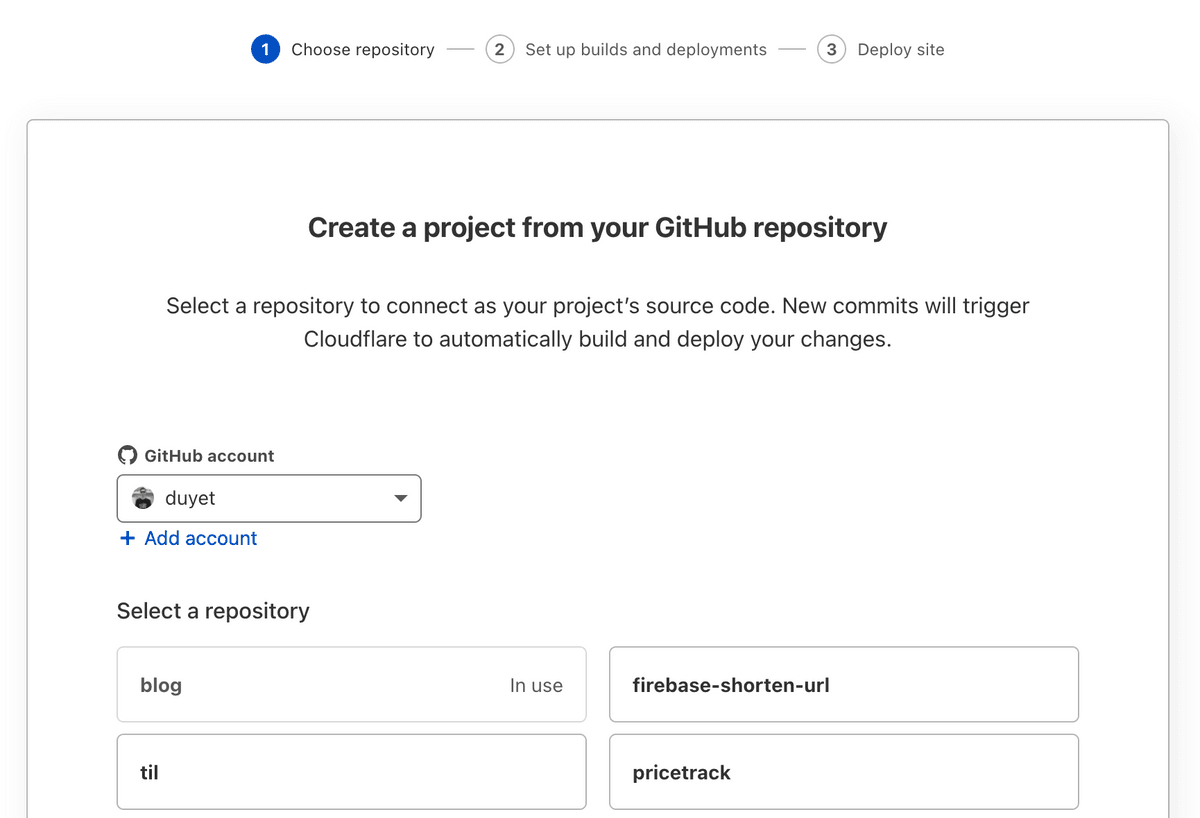
Firstly, you will be ask to sign in to Cloudflare Pages and connect to Github.
Signing in with GitHub allows Cloudflare Pages to deploy your projects, update your GitHub PRs with preview deployments, and more. When you sign in, you’ll also have the option of specifying any GitHub organizations that you’d like to connect to Cloudflare Pages.
After that, you can select a GitHub repository to be deployed, follow the steps like the screenshot below:
First deploy
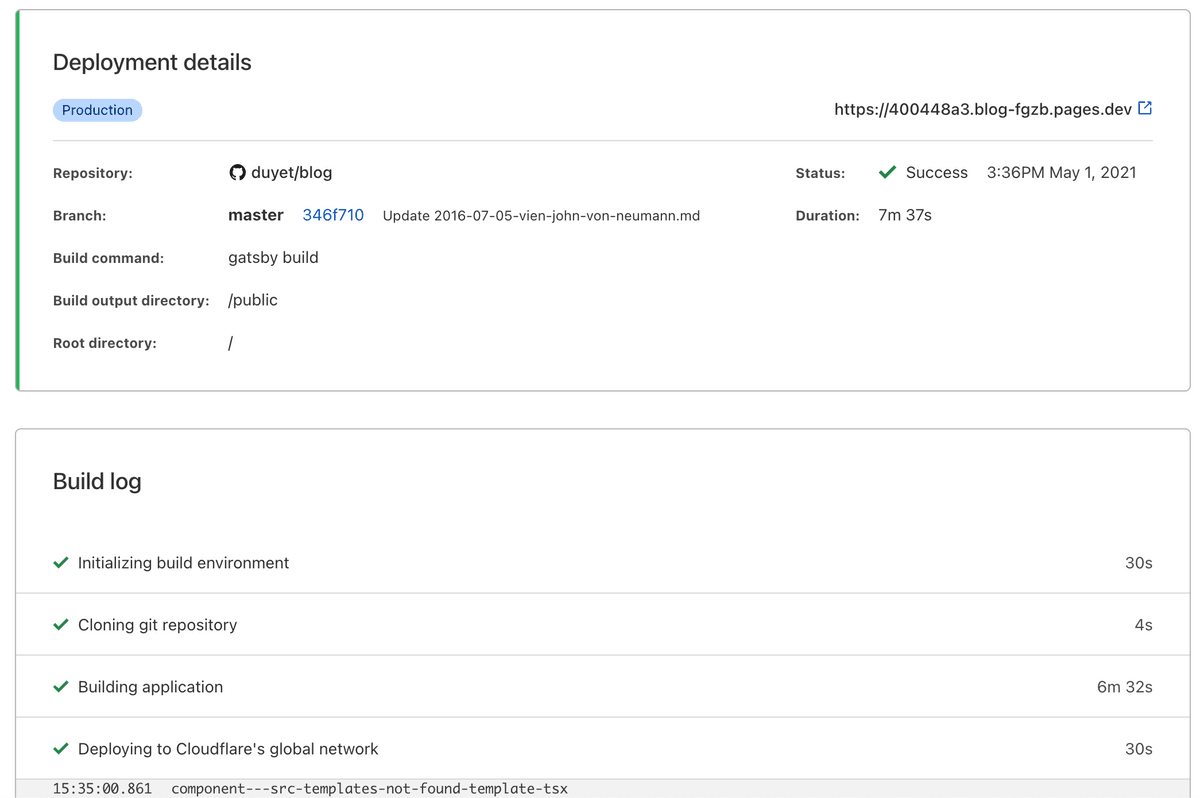
Once I’ve finished setting your build configuration, Cloudflare Pages will begin deploying my site. The build logs will output as Cloudflare Pages installs your project dependencies, build the project, and deploys it to Cloudflare’s global network, the same with Netlify.
Update the DNS
So, I continue to point the domain to the new site: https://blog.duyet.net. To do this, go to the “Domains” tab in the dashboard. Cloudflare ask to me change the DNS config from Netlify to Cloudflare Pages site. I get the DNS record updated just in a few seconds!
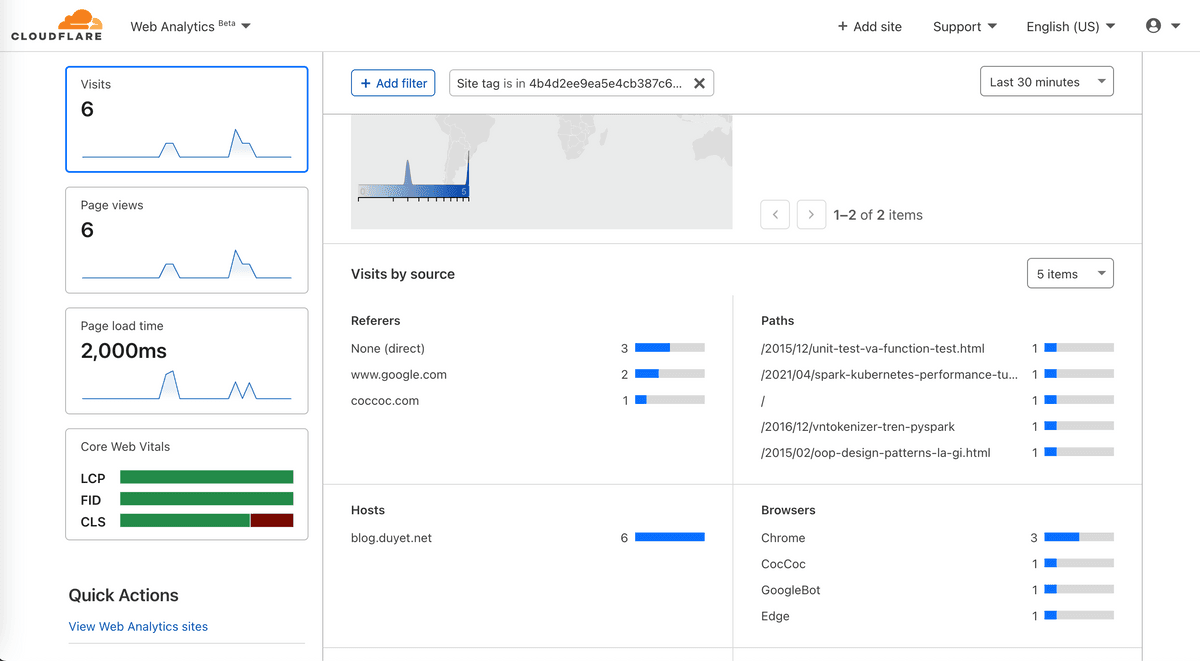
It work like a charm, and I have the new website on Cloudflare Pages. I also turn the Cloudflare Web Analytics on. I quickly get the insights report in a few minutes, how impressive it is.
I’ve migrated my blog from Netlify to Cloudflare Pages, it’s very simple and quickly.
Cloudflare Pages is a formidable competitor to other alternatives. Supporting static sites is just the beginning of the journey for Cloudflare Pages. Let’s see what happens to the Cloudflare Pages in the near future.
